Books quilts and sewing

Remember you're unique!! Just like everyone else.

Persian Plum gone Wrong

The sabbatical is over and I’m making some changes to my site in the near future.  It is said that the only constant is change and with that I’ve decided to change from my slothful nature and get back to posting what I’ve been up to.

All of the monthly blocks of the Persian Plum block of the month square are completed.  When I opened the setting kit it was with a lot of trepidation.  As I flipped through the fabric I was extremely disappointed that some of the fabric hadn’t been cut properly.  I promised that I wouldn’t go off on a rant about it and proceeded to just make it work.  It was so disheartening that I have taken a lot of time to put this together only to find more work for myself to correct the manufacture’s mistakes.IMG_0787

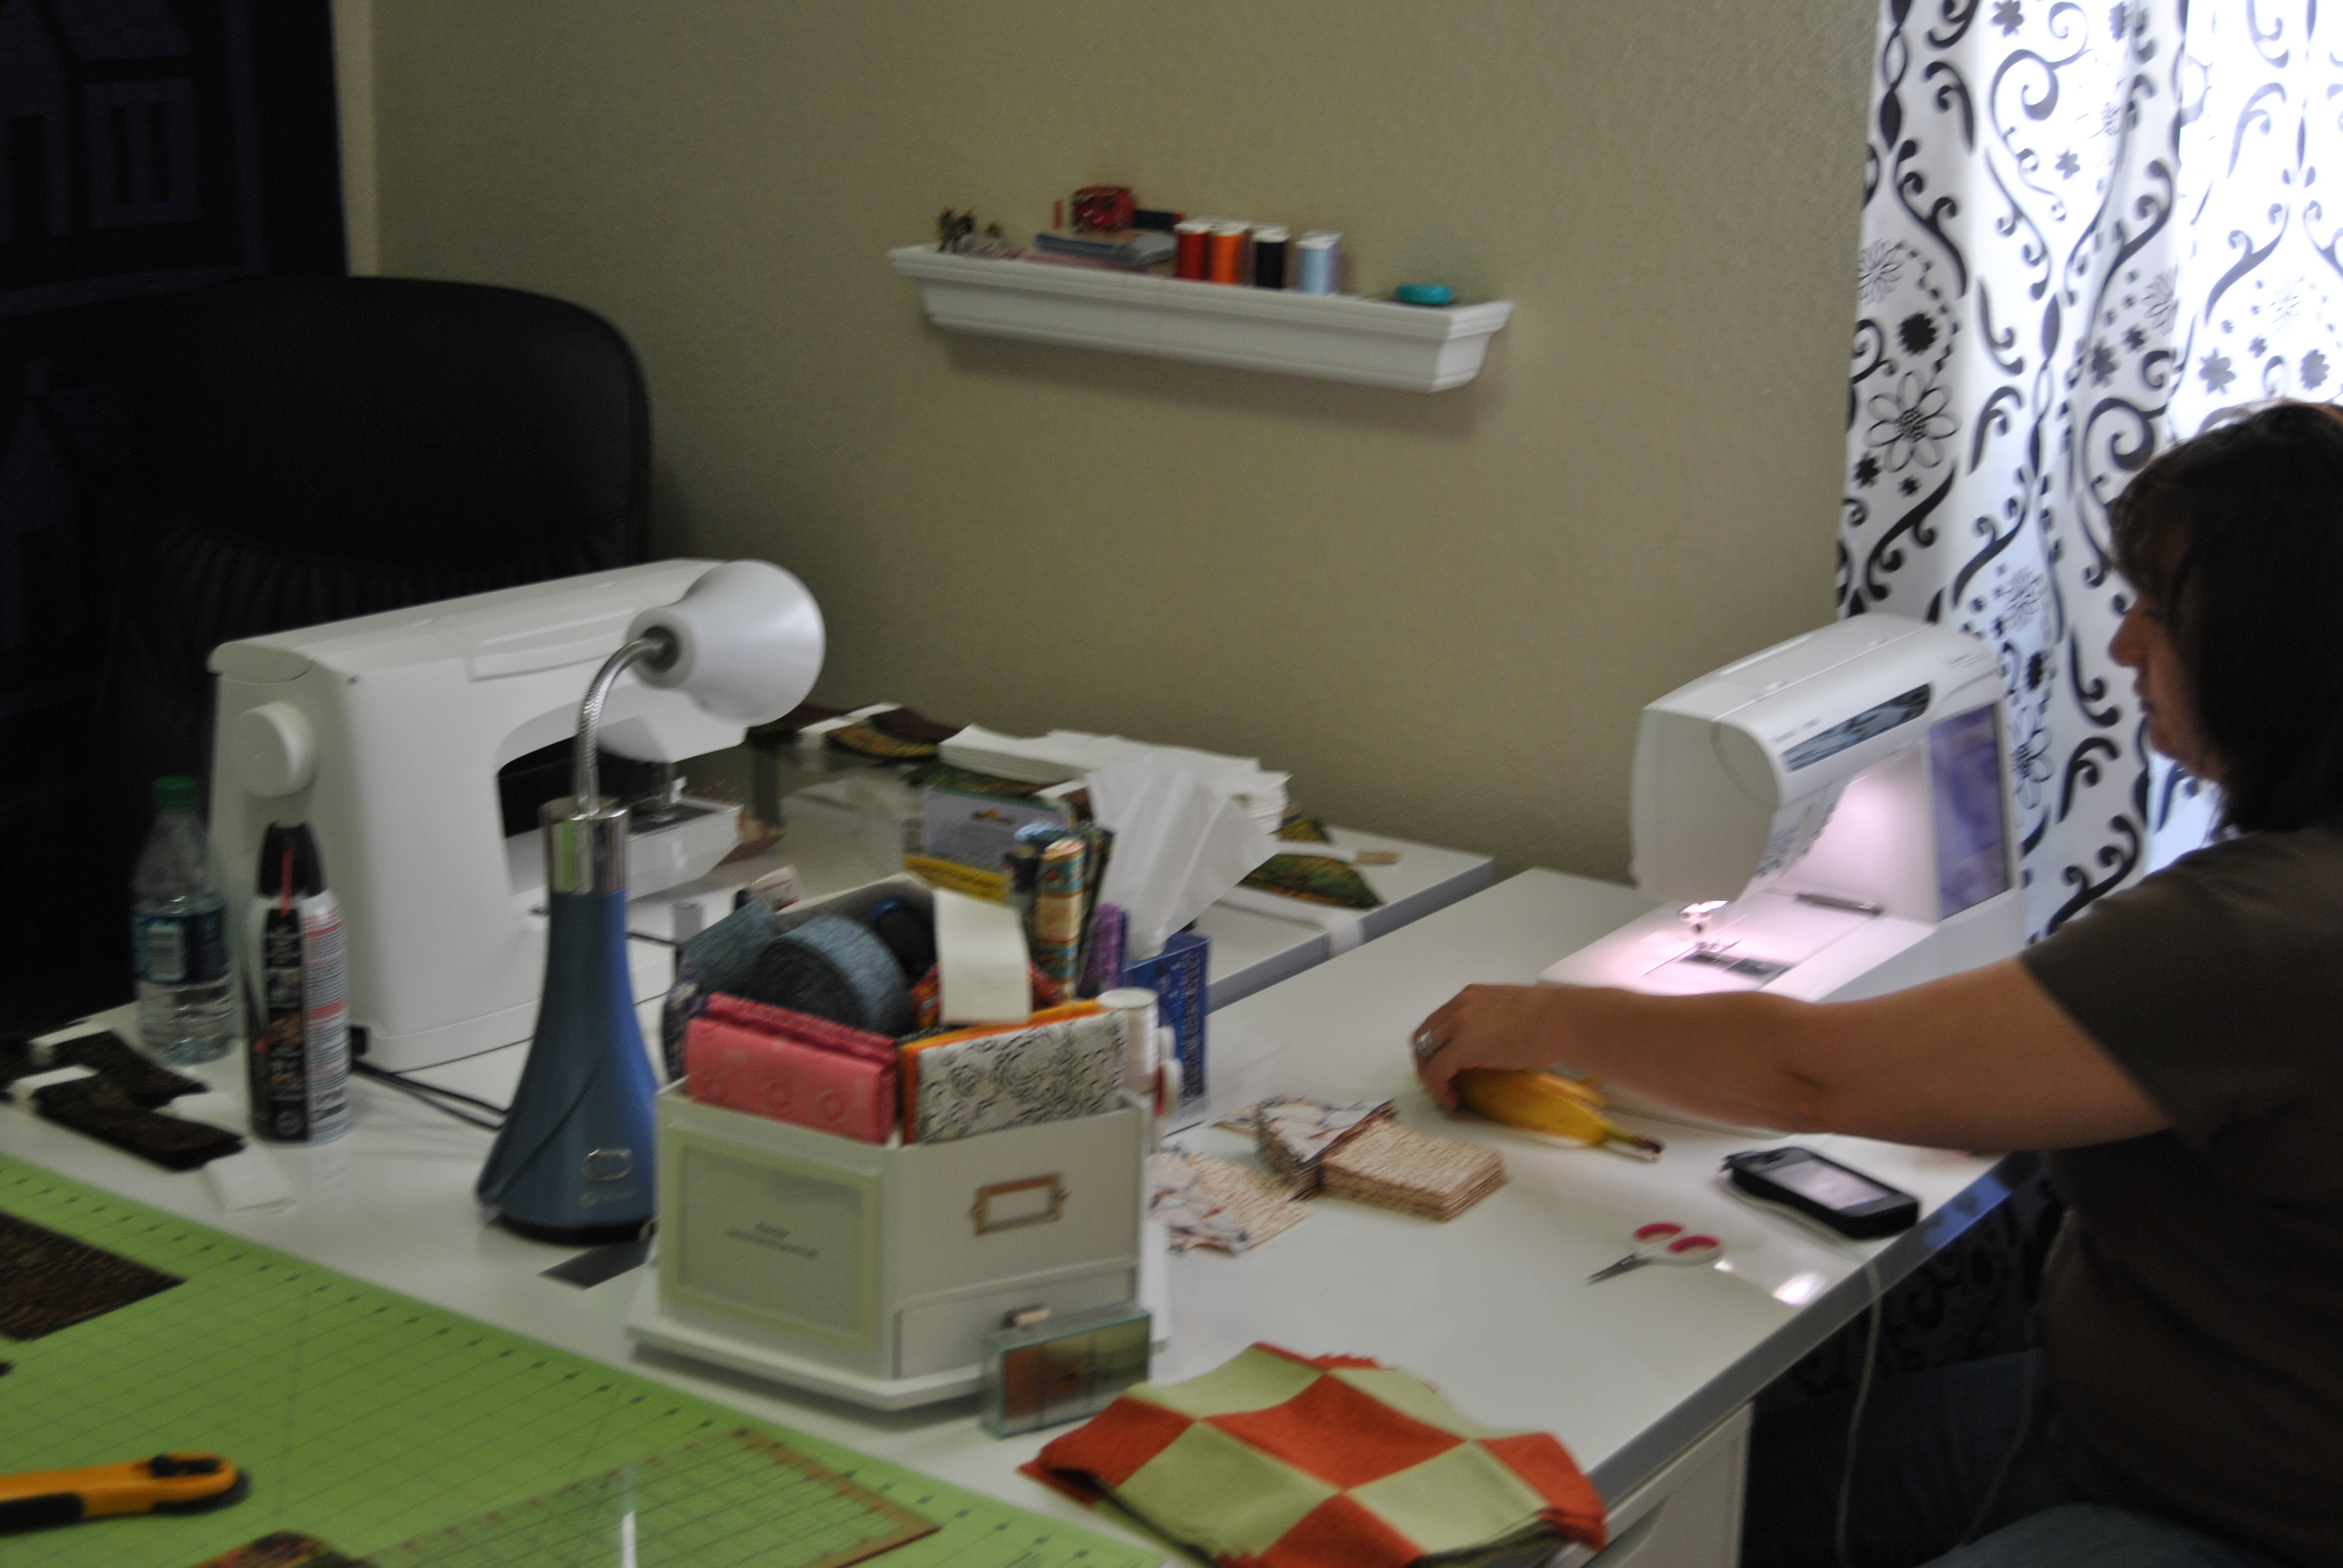
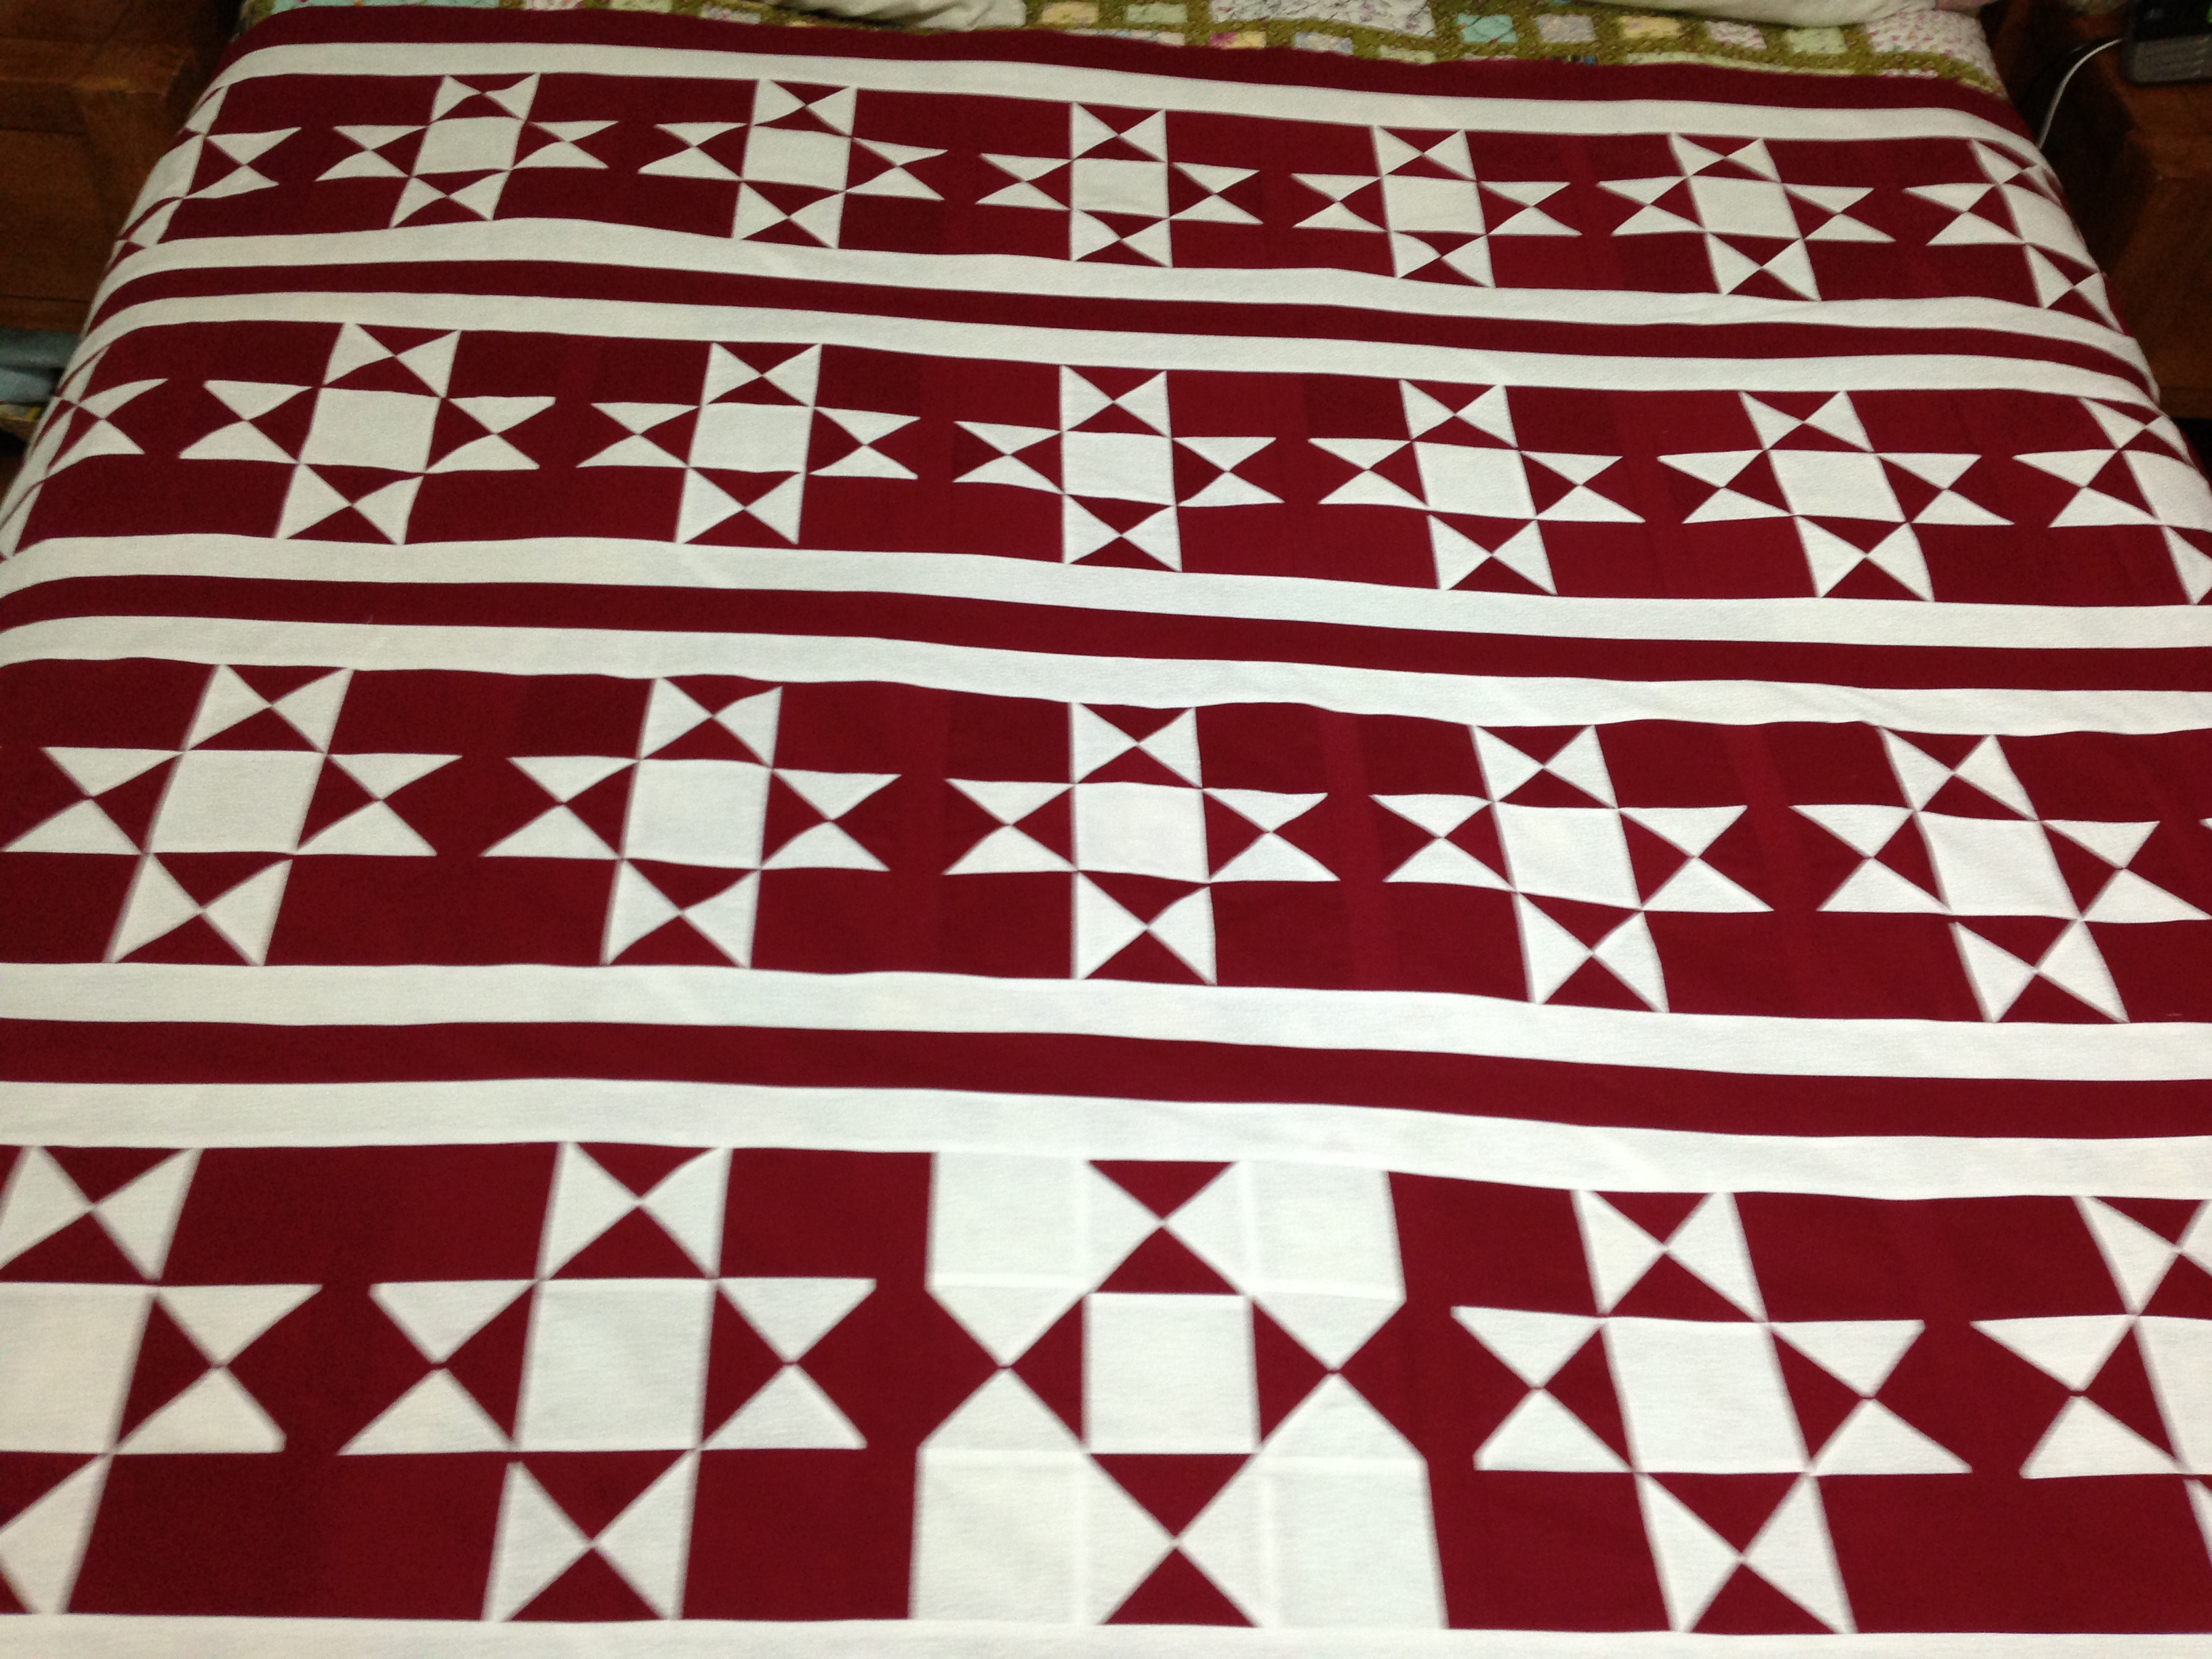
Because of this and my general nature of needing to have multiple projects going at the same time, I completed what I’m calling my “Chopsticks Quilt” and am still plugging along with the “Oh Canada” quilt that I started the year before.  I found while going through fabric with my wife a mini-quilt that she started but hadn’t bound and asked that I be able to hand quilt it for her.  Yes, another project!!  It brightened my mood and I’m almost a third done with that one now.

Back to the Persian Plum however, she’s been helping me piece the other squares together in return for hand quilting her mini.  We’ve just about completed all of the other squares from the setting kit and should be finished piecing those this evening.  I’ll post up Blocks 11 and 12 over the next couple of days to give an idea of what the collection looks like.

Until next time,

The White Sale and the Sewing Room Remodel

The white sale

For this curiosity seeker the title has enabled me to compress the two things I wanted to write about into one topic, that of white and the impact it has on me and the trade of quilt making.

I have discovered within myself a great penchant for using white as a choice of fabrics.  I did not start out that way; in fact you could say that I avoided it through most of my initial quilt projects.  Having a great love of quilts, my wife and I purchased a lot of magazines, went to a lot of quilt shows, and visited a host of online sites to view finished quilts and patterns.

As I pointed out the quilts or patterns that I liked the most it became clear to me the thread of commonality among my choices, there was a lot of white fabric in my list of favorites.

I started using white in the quilts I was making and voila! I became happier with the finished quilts.  I honestly think it’s the stark contrast between colors, or how the white can extend a lighter colored block of fabric beyond its borders.

The white sale II

After shopping online and in stores I came to the conclusion that no one except for specialty stores were selling what we needed for the sewing room remodel.  The specialty shops were so far out of our price range it was incredible.  Yes, there products were perfect for use and would definitely improve anything we had in mind, but the cost was most definitely prohibitive.

Back to the drawing board I went searching hopelessly for something that would satisfy our space requirements and our pocket books.  IKEA had just what I had been hoping for on their website.  People may read this and say “DUH”, but I’ve never been to an IKEA store and no, I haven’t been living under a rock.  The problem with this store was that I had never been there but needed to see and measure each piece we were considering for purchase.

My great idea was to go there about noon on Saturday and wrap up no later than 2pm…  anyone who’s shopped at an IKEA store is laughing right about now.  I’m a good sport however and am laughing with them at my own ignorance.  For those of you who have never shopped there, well let me just refer to the phrase rats in a maze.  The cheese by the way isn’t along your journey through the place, just like a rats maze you’ll have to wait to reach the end before you can find satisfaction.

When we arrived home at something approaching 5pm, exhausted as I was Sunday was Mother’s day and I wasn’t going to have my wife waiting to use the new furniture when I could “easily” put it together that night!

The dread of messing something up washed over me as I opened the first box of parts and began assembly.  By the end of the first two hours, not only had I completed sewing table it had gone together so well hope sprang from within at the thought of the three other pieces of furniture waiting for assembly.

By midnight, all the pieces were assembled and positioned in the first of many configurations.

photo (6)

This is what we were using!!

DSC_0016

These are the new cabinets facing the entry wall

The new sewing tables and cutting board

The new sewing tables and cutting board


Quilting Room Remodel

I like many of my fellow quilters have a knack for collecting (hoarding) all things quilting (fabric, scissors, cutters, etc…).  This brings me to the love seat.  A love seat that I have to admit, I actually despised when my wife suggested we buy the living room set and bring it to our new home here in Texas.  I didn’t like the color, the fabric, and if you sat in it, you would be under the distinct impression that it wanted to throw you right back off.  After five years it was my turn to pick a new living room set.  At that point, even my wife admitted that the old couch and love seat were uncomfortable.

So, rather than trying to sell our old set and have someone pay to become uncomfortable in their own living room, I set the couch out on the curb.  When my wife saw the love seat still in the house, she ask why we weren’t setting it out as well.  I thought as we converted one of the bedrooms into a sewing room that we could use the love seat as a place to sit when only one of us was sewing (she scoffed at the idea).  I had this thought of curling up on the thing and being able to spend time chatting while the other person was sewing.

It became nothing of the sort…  At present, on the couch, are an assortment of different projects in the last stages of completion.  This has been its main function for over a year.  Lost to me was the fact that I could never be comfortable on it and would always sit across from her at my sewing station instead.  Time to let go and utilize the space for a more purposeful reason and to admit that yes, my wife was right… we should have gotten ride of it a long time ago.

An old leather swivel chair provides some comfort while sewing which I had to talk my wife into letting me keep even prior to the sewing room.  It sat in our bedroom for a while with nowhere else to store it.  When we turned the other bedroom into a sewing room, it had a new purpose, my sewing chair!  Score one for the hoarders!!  My wife has been using one of the dinning chairs that we kept from the old dinning set.  It is very uncomfortable and not the best idea that we’ve ever had.  As part of the room remodel however, our children are buying her a proper swivel chair for mother’s day.

I’ve seen many pictures of what some people have as their sewing/craft rooms and have to admit I’m jealous with the amount of space they have.  Because of the love seat and the distinct lack of square footage, our cutting is currently done on the coffee table  in the front room.  Our ironing station is set up and taken down in the hallway, and our sewing is done on… you guessed it, a dinning room table that I moved into the sewing room when we bought a new dining room set.  The old dining table was on its last leg when it was replaced, well its last three legs to be more specific.  It has the unusual tendency to shimmy ever so slightly when we are sewing at the same time.  It’s a bit like sewing on a really great washing machine that is perpetually stuck on the spin cycle.

I’m finally ready to bid the love seat and dinning table goodbye and rearrange the room, replacing the old dinning table with two sewing tables, setting up a cutting station, ditching the love seat, and buying some shelving for the bare walls.  The ironing can then be set up in the sewing room and broken down when it isn’t needed.

Here is the before look of the room and I’ll post a picture after we’ve converted it into a friendlier space.

photo (6)

Progress on the “Oh Canada!” Quilt

Oh Canada

Another labor of love that I’ve been able to enjoy piecing together.  I’m 4/7 the way done with the quilt top and yes the square at the bottom will mark the center of the quilt.  I’m very excited about piecing this two-color quilt.  I wanted to break it down just slightly to give an idea of what it’s like to put something like this together.  Not to scare anyone off, but more of the scope of this sort of project.

This quilt when finished will be composed of 49 blocks (7 rows of 7).  Each block has (5) 3 1/2″ squares and (16) 3 1/4″ triangles.  Put in perspective of the whole, it will contain 245 small squares, 196 each of red and white triangles, 31 bordering strips, and 4 pieces for the panels.  In the end I have planned to add 13 maple leaves of different color to give it a total piece count of 685 individual pieces.  I could be off on my count a little as I was doing the math a little quickly, but you get the idea.

When I start a quilt, I always start with a single block and don’t even necessarily allow myself to think about the above information as it  will quite literally stall the project before it begins.  I don’t even cut out the fabric for all of the pieces because of this.

This quilt, or more correctly the idea that started this quilt is now a year past, as is the first block I created for it.  My question for anyone out there is how do YOU eat an elephant?

Flannel Binding

If I were to talk about one of the biggest obstacles that I’ve face since I started piecing quilts, top of my list is piecing and binding a flannel quilt.  It’s almost like sewing a Lycra skirt together I would imagine.  I am a “fair-weather” pinner and will always try to get away without pinning where I’m able, so long as the fabric I’m working with cooperates.

Flannel is one of my favorite fabrics to piece and wrap up in after a well-done job.  This is also one of the fabrics that needs the most pinning due to the stretchiness of the material.  To go a little into the woods with this topic, when I initially started quilting I wanted nothing more than to make a flannel quilt.  Off to the store I went to pick out some of the warmest, softest, and flannely flannel I could find.  I purchased much more fabric than was needed using the… “if it calls for a yard and a half why not buy four yards” guy mentality.

This of course saved me.  I knew something was off, and at first it was that I had indeed cut the wrong size on a couple of pieces.  Standing there trying to line the fabric up after I re-measured however I started to sew only to have the squares go all wonky on me once I tried to join them together.  This was my initialization into the world of flannel.

Lesson #1, pin… every… little… piece… to sew it together.  Then, pin each and every piece as they come together.  Use the steam and weight of the iron to flatten the material and set the seams, do not stretch the material while pressing.  Now I know there is someone out there that may be able to sew this without pinning using the proper tension and fabric selection on their sewing machine.  When I first started with my singer, I have a difficult time getting this correct.  Now that I have a husqvarna viking, it is a little easier, however I still have to ensure I have the machine set correctly.

I’ve posted before about how much I love to put satin blanket bindings on baby quilts, but I wanted these to have more of a homemade look to them.  People are finally getting vocal about what works for them on a flannel blanket and I’ve decided to go with the double-fold binding.  I’ll cut the fabric 2 1/2″ before folding rather than my normal 2 1/4″ wof.

Lesson #2, Don’t be afraid to leave your comfort zone.  I’ll post the pics of these next week to show you how they turned out.

Until next time,

Keep Sewing!!

Are you like a crazy person?

I love the world of quilting.  I love to design, sew, and finish these wonderful projects.  I am especially fond of having a finished product to admire at the end of all my hard work.  The flurry of the holidays is long since passed for me and my time is starting to open back up ever so slightly.  If I am to be perfectly honest, I’ve noticed that something has been missing in my life, a certain lack that when I tried to pinpoint exactly what it was, I realized that I hadn’t created anything new at all for over two months.


Life

Does anyone else feel the same when life has “caught them up”?  Given the fact that the holidays are a busy time for both work and life in general, I sacrificed one of my passions to make room for others.  It’s the dance we do when a choice has to be made.

The Persian Plum that I started last year will be complete by next weekend and then it’s off to the quilters.  Between then and now, I have two flannel blankets that simply need to be bound and they will be complete as well.  I should have pictures up of those by tomorrow.

To everyone reading…  Thank you for all your wonderful comments, they mean a great deal to me and are very much appreciated.

Sew Happy!!

My Recent Troubles with the Christmas Quilts…

It’s been crazy with work lately…  Posting up what my projects are and what I’m currently doing has taken a back-seat to work, home, and sewing.  I knew this was going to be a beat-down that will continue through next week but am able today to give a brief account of what I’ve managed to eek out.

While working on the original Christmas quilt, I was showing Kay a video on more patterns with which to make quilts and found one on YouTube of one that to me looked perfect for another Christmas quilt.  It’s basically a Jelly Roll pattern for a quilt and since Kay had a Jelly Roll sitting around with nothing to do, she decided to attempt it.  While I, having a lot of extra Christmas fabric, decided to start on a second quilt without finishing my first!  I know everyone understands what spurs us on to do that…

So, I’m working furiously during my off time to get this new one completed and realized that I had not finished Teagan’s binding so I could send it out.  I stopped working on the new Christmas quilt and finished up Teagan’s.  With that accomplished, I pulled out both of the Christmas quilts and while looking at the first decided to incorporate some embroidery into the pattern.


As you can see I’ve become distracted and have lost focus… the only good news is that I AM progressing on getting these two quilts finished until…

While reading through a quilting magazine, I came across a really simple quilt pattern that I thought would be perfect to use with some flannel material.  You can already guess what I did, I stopped working on the Christmas quilts and am 2/3 the way through this new quilt.

Alas, I have no willpower when it comes to starting new projects while the old ones languish waiting to be finished.


Quilts and the iPad

Like almost every quilter I have a phone and a computer.  I read a lot of books as well, though mostly fiction.  Until recently I had a Nook from Barnes & Noble that I used for the bulk of my electronic reading, but a friend of mine was upgrading his iPad 1 to and iPad 3 and made me an offer that I couldn’t refuse.  If you’ve ever held an iPad, you’ll notice a huge difference in weight between it and an e-reader.

As great as it was, it was just too heavy to use for reading and it languished on a shelf for a while.  One day while flipping through a favorite quilting magazine I noticed on the back an advertisement showing that you could put a subscription of the magazine on the iPad.  Color me intrigued!!  Though for me, the iPad is much too heavy to use for normal reading… the larger screen and size is actually ideal for walking around with quilting patterns and instructions.

You may be saying that a magazine is just as easy, but I’ll make two points about ease of use.  One, the most distracting thing is to have a magazine open while reading cutting instructions and have the pages flip on me while I’m reading it.  This invariably leads to some not so nice verbiage from me.  Secondly, I can carry around 12 issues… or 32 quilt patterns chock full of pictures, measurements, and ideas that can inspire my creativity wherever I am.

Send me a note on what you do to inspire your creativity!

Finished at the last gasp

Kay was getting a little upset as I started putting on the first of my planned borders for the Christmas quilt.  We had two hours before we needed to leave to get to Linda’s house clear across town and I was just starting to put the first of three borders on.  I really meant to do them the day before, but lacked the motivation.

Meanwhile, Kay had a lot to finish and DID do a lot of it the day before with only a little bit remaining on the day we needed to turn it over to the quilter Linda.

As I was sewing on the first border, I looked at the back and realized that a patch was all wonky!  That’s what I get for trying to go too fast… another ten minutes wasted.  I finally got on-track and managed to get all three borders sewn on in less than two hours.  The last border was the toughest and required the most amount of attention with all the seams it had.

We were talking to Linda after we had arrived and were discussing thread colors and quilt patterns and I looked down at the six piles of fabric, their backing, and the batting realizing that this represented six quilts (translated… a LOT of difficult work) and it honestly put me in awe of what we had accomplished.  Two of the quilts Kay had ear-marked for a firehouse, one of the large purple ones to our oldest daughter Amanda for her birthday, and the last three to keep.

As I mentioned before our daughter Samantha had a valid point that we can only use so many at a time.  I really do like having them around the house though… on the backs of our couches, on the bed, and in the closet.  I keep saying 10 more quilts should be sufficient, but don’t feel the slightest bit of bad when I make one for a relative and two for me.  It’s not like we’re charging anyone.

Anyway, I actually wrote all of this to say that by the time I’d finished the Christmas quilt we had to leave immediately.  Yes, I did finish all three borders.  With Kay’s help I had the backing sewn as well.  As we rushed them out to the car I realized that I hadn’t taken the photo of it yet.  Delaying our trip slightly more, I placed the last bundle in the back of the car and snapped a quick shot of all six bundles on their way to the quilters.

Christmas is All Around

My wife Kay… (I just love talking about her if you haven’t noticed!) wanted to put in some volunteer hours creating some quilts for a local firehouse.  The firehouse would use the quilts by taking them out into the field and handing them out to victims that had the need.  As I was struggling with the motivation to finish my Christmas quilt, I kept looking over at the simple pattern that she was using to create the “firehouse” quilt.  I looked down at the fabric in my lap and thought… this would look really good in the pattern.

Staying on-track has never been my strong suit which has me literally dropping the fabric I was working on and pestering my wife for measurements.  “What was the width of those strips again Kay?”  She must have felt at the end of the day that she had been talking to a three-year-old.

For anyone who’d like to know the pattern, here’s the pattern I used:

You’ll need 1 1/4 yard of three fabrics

From three different fabrics cut 16 from each fabric (2 3/4″ strips)  Sew the three fabrics together with the neutral color in the middle (it will make it look better).  Cut the sewn strips to a length of 7 1/4″ and keep the end pieces that are left to be used on the border (the end pieces should measure over 6″.  See the picture above for piecing it together.

Take the end pieces that measure less than the 7 1/4″ and cut them down to 3 (2″ strips).  Incorporate these into one of the layers of your border.

I’ll post another photo once I get the borders sewn on.  This currently measures 54″ X 67.5″ without borders.

Post Navigation