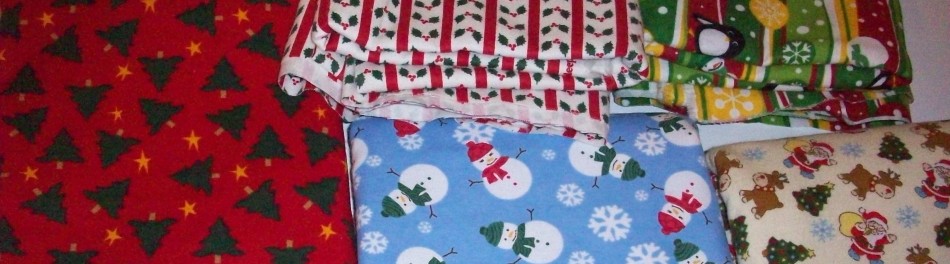
The white sale
For this curiosity seeker the title has enabled me to compress the two things I wanted to write about into one topic, that of white and the impact it has on me and the trade of quilt making.
I have discovered within myself a great penchant for using white as a choice of fabrics. I did not start out that way; in fact you could say that I avoided it through most of my initial quilt projects. Having a great love of quilts, my wife and I purchased a lot of magazines, went to a lot of quilt shows, and visited a host of online sites to view finished quilts and patterns.
As I pointed out the quilts or patterns that I liked the most it became clear to me the thread of commonality among my choices, there was a lot of white fabric in my list of favorites.
I started using white in the quilts I was making and voila! I became happier with the finished quilts. I honestly think it’s the stark contrast between colors, or how the white can extend a lighter colored block of fabric beyond its borders.
The white sale II
After shopping online and in stores I came to the conclusion that no one except for specialty stores were selling what we needed for the sewing room remodel. The specialty shops were so far out of our price range it was incredible. Yes, there products were perfect for use and would definitely improve anything we had in mind, but the cost was most definitely prohibitive.
Back to the drawing board I went searching hopelessly for something that would satisfy our space requirements and our pocket books. IKEA had just what I had been hoping for on their website. People may read this and say “DUH”, but I’ve never been to an IKEA store and no, I haven’t been living under a rock. The problem with this store was that I had never been there but needed to see and measure each piece we were considering for purchase.
My great idea was to go there about noon on Saturday and wrap up no later than 2pm… anyone who’s shopped at an IKEA store is laughing right about now. I’m a good sport however and am laughing with them at my own ignorance. For those of you who have never shopped there, well let me just refer to the phrase rats in a maze. The cheese by the way isn’t along your journey through the place, just like a rats maze you’ll have to wait to reach the end before you can find satisfaction.
When we arrived home at something approaching 5pm, exhausted as I was Sunday was Mother’s day and I wasn’t going to have my wife waiting to use the new furniture when I could “easily” put it together that night!
The dread of messing something up washed over me as I opened the first box of parts and began assembly. By the end of the first two hours, not only had I completed sewing table it had gone together so well hope sprang from within at the thought of the three other pieces of furniture waiting for assembly.
By midnight, all the pieces were assembled and positioned in the first of many configurations.

This is what we were using!!

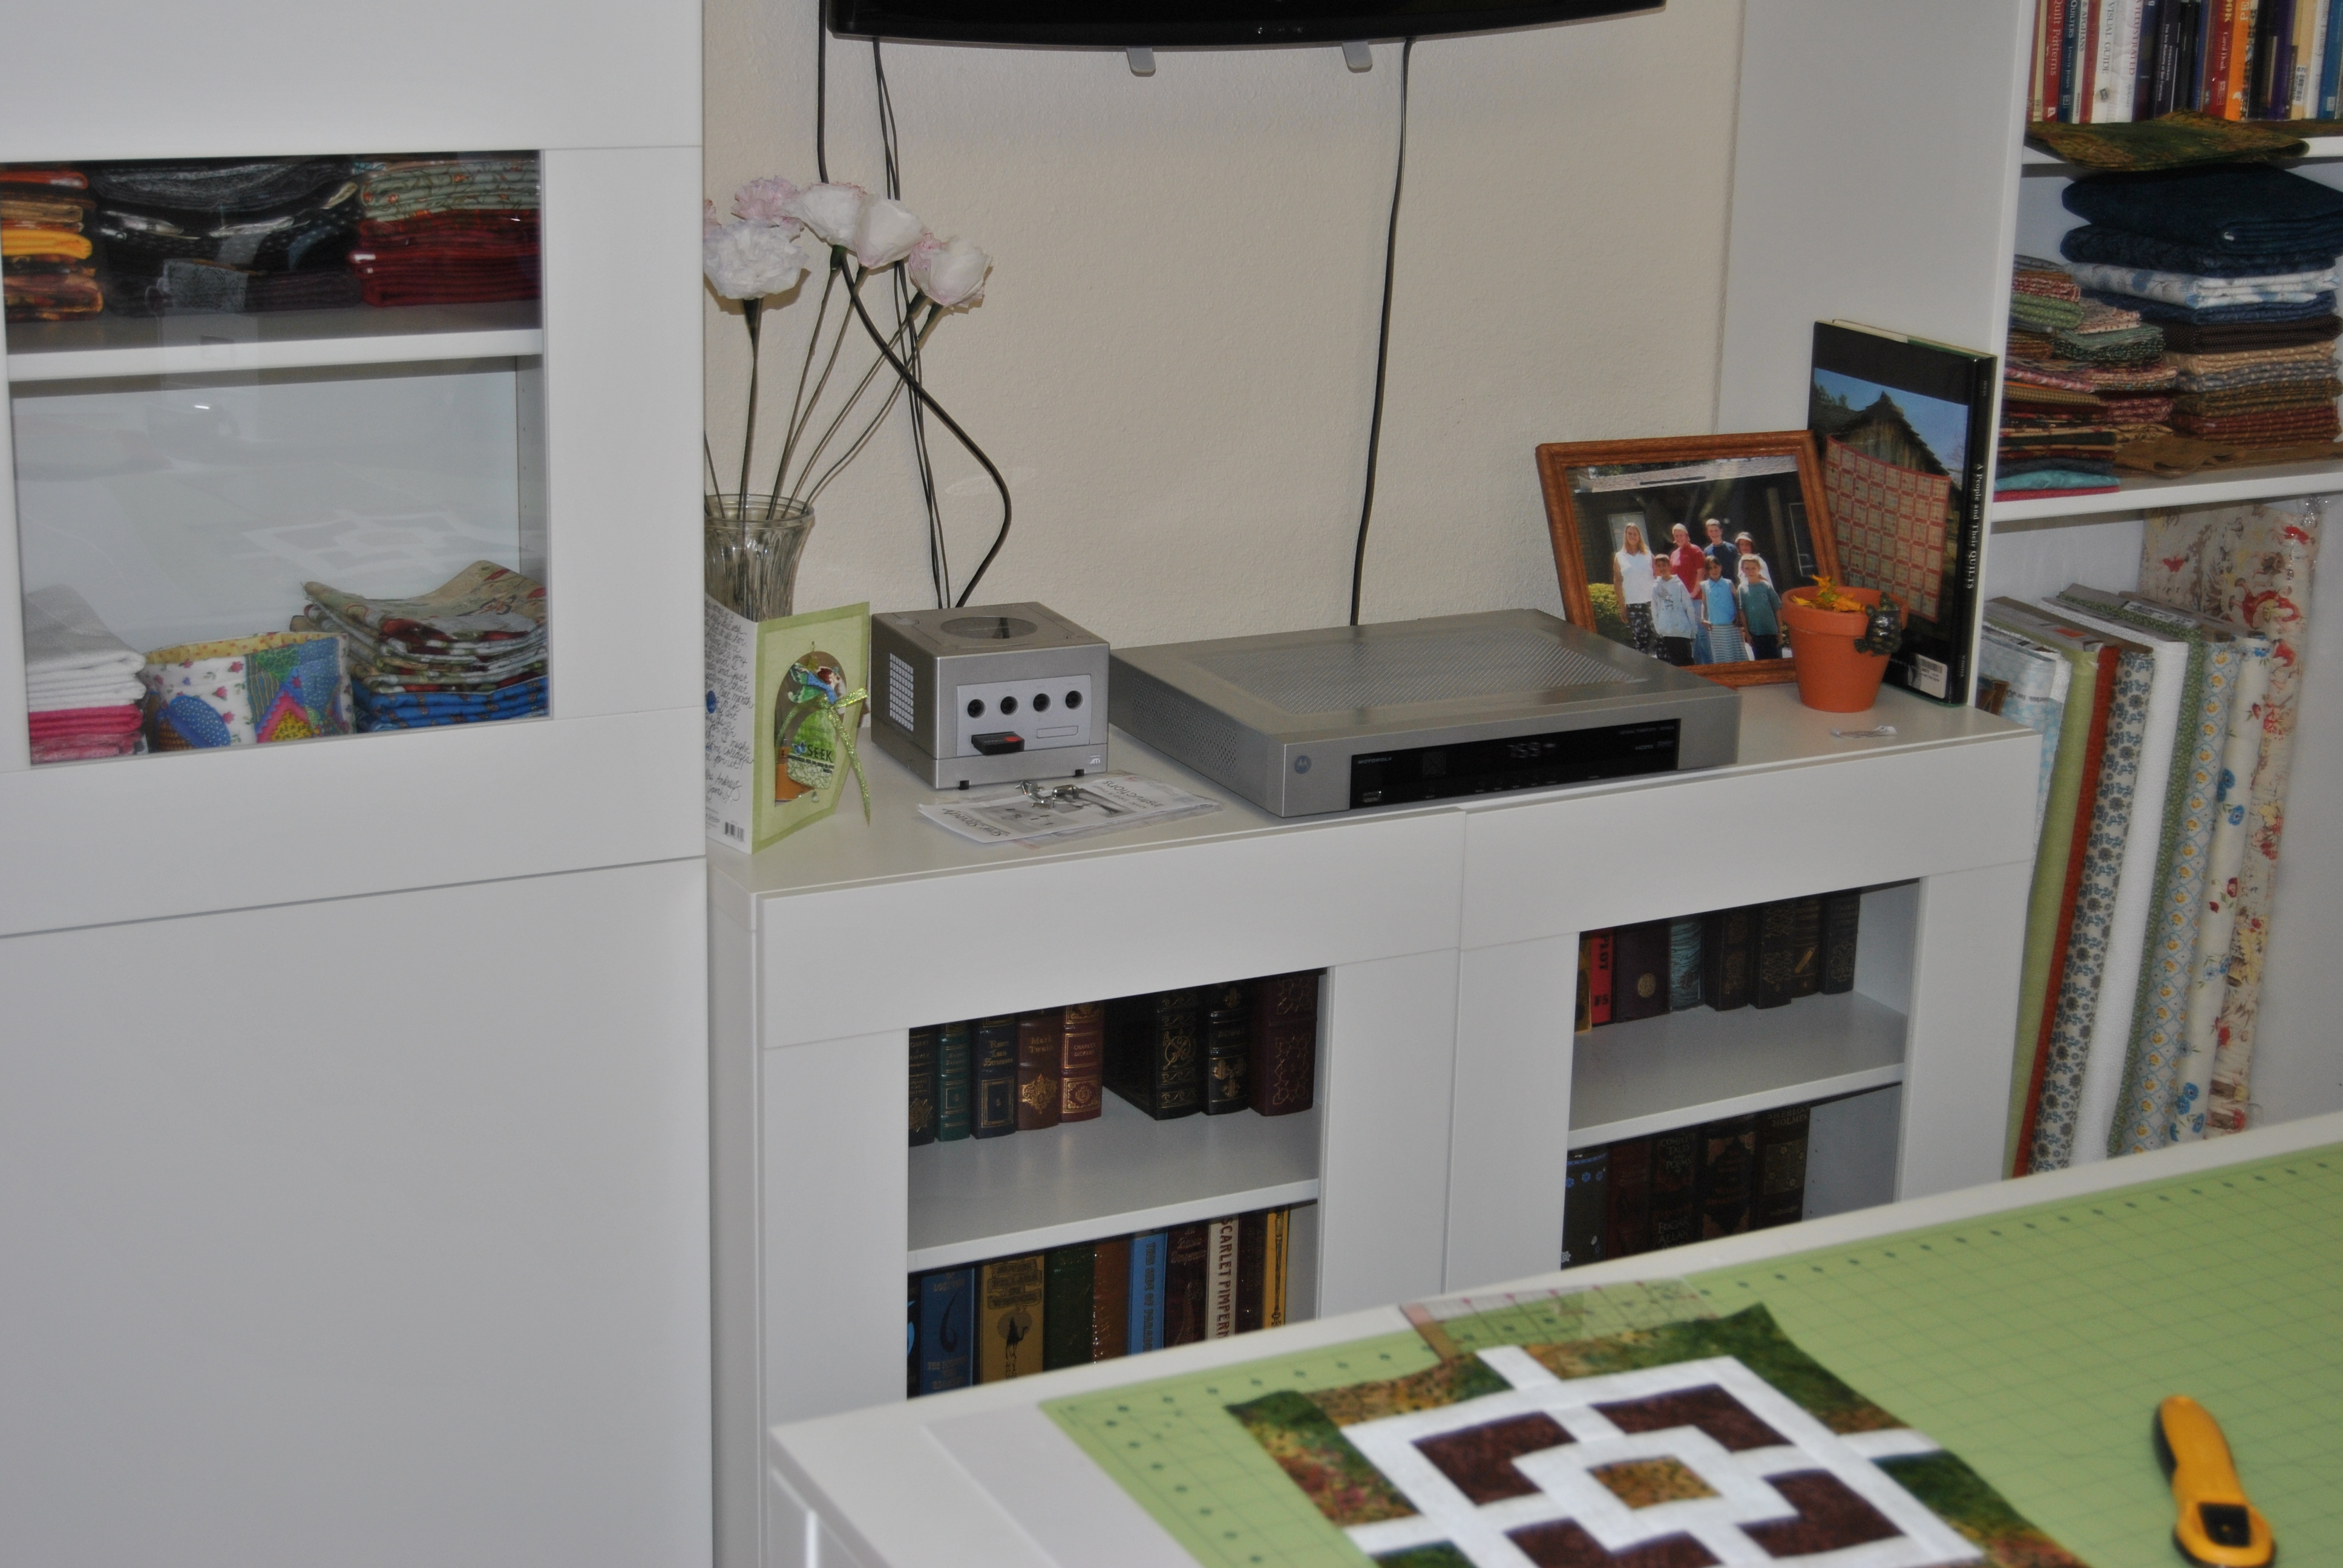
These are the new cabinets facing the entry wall

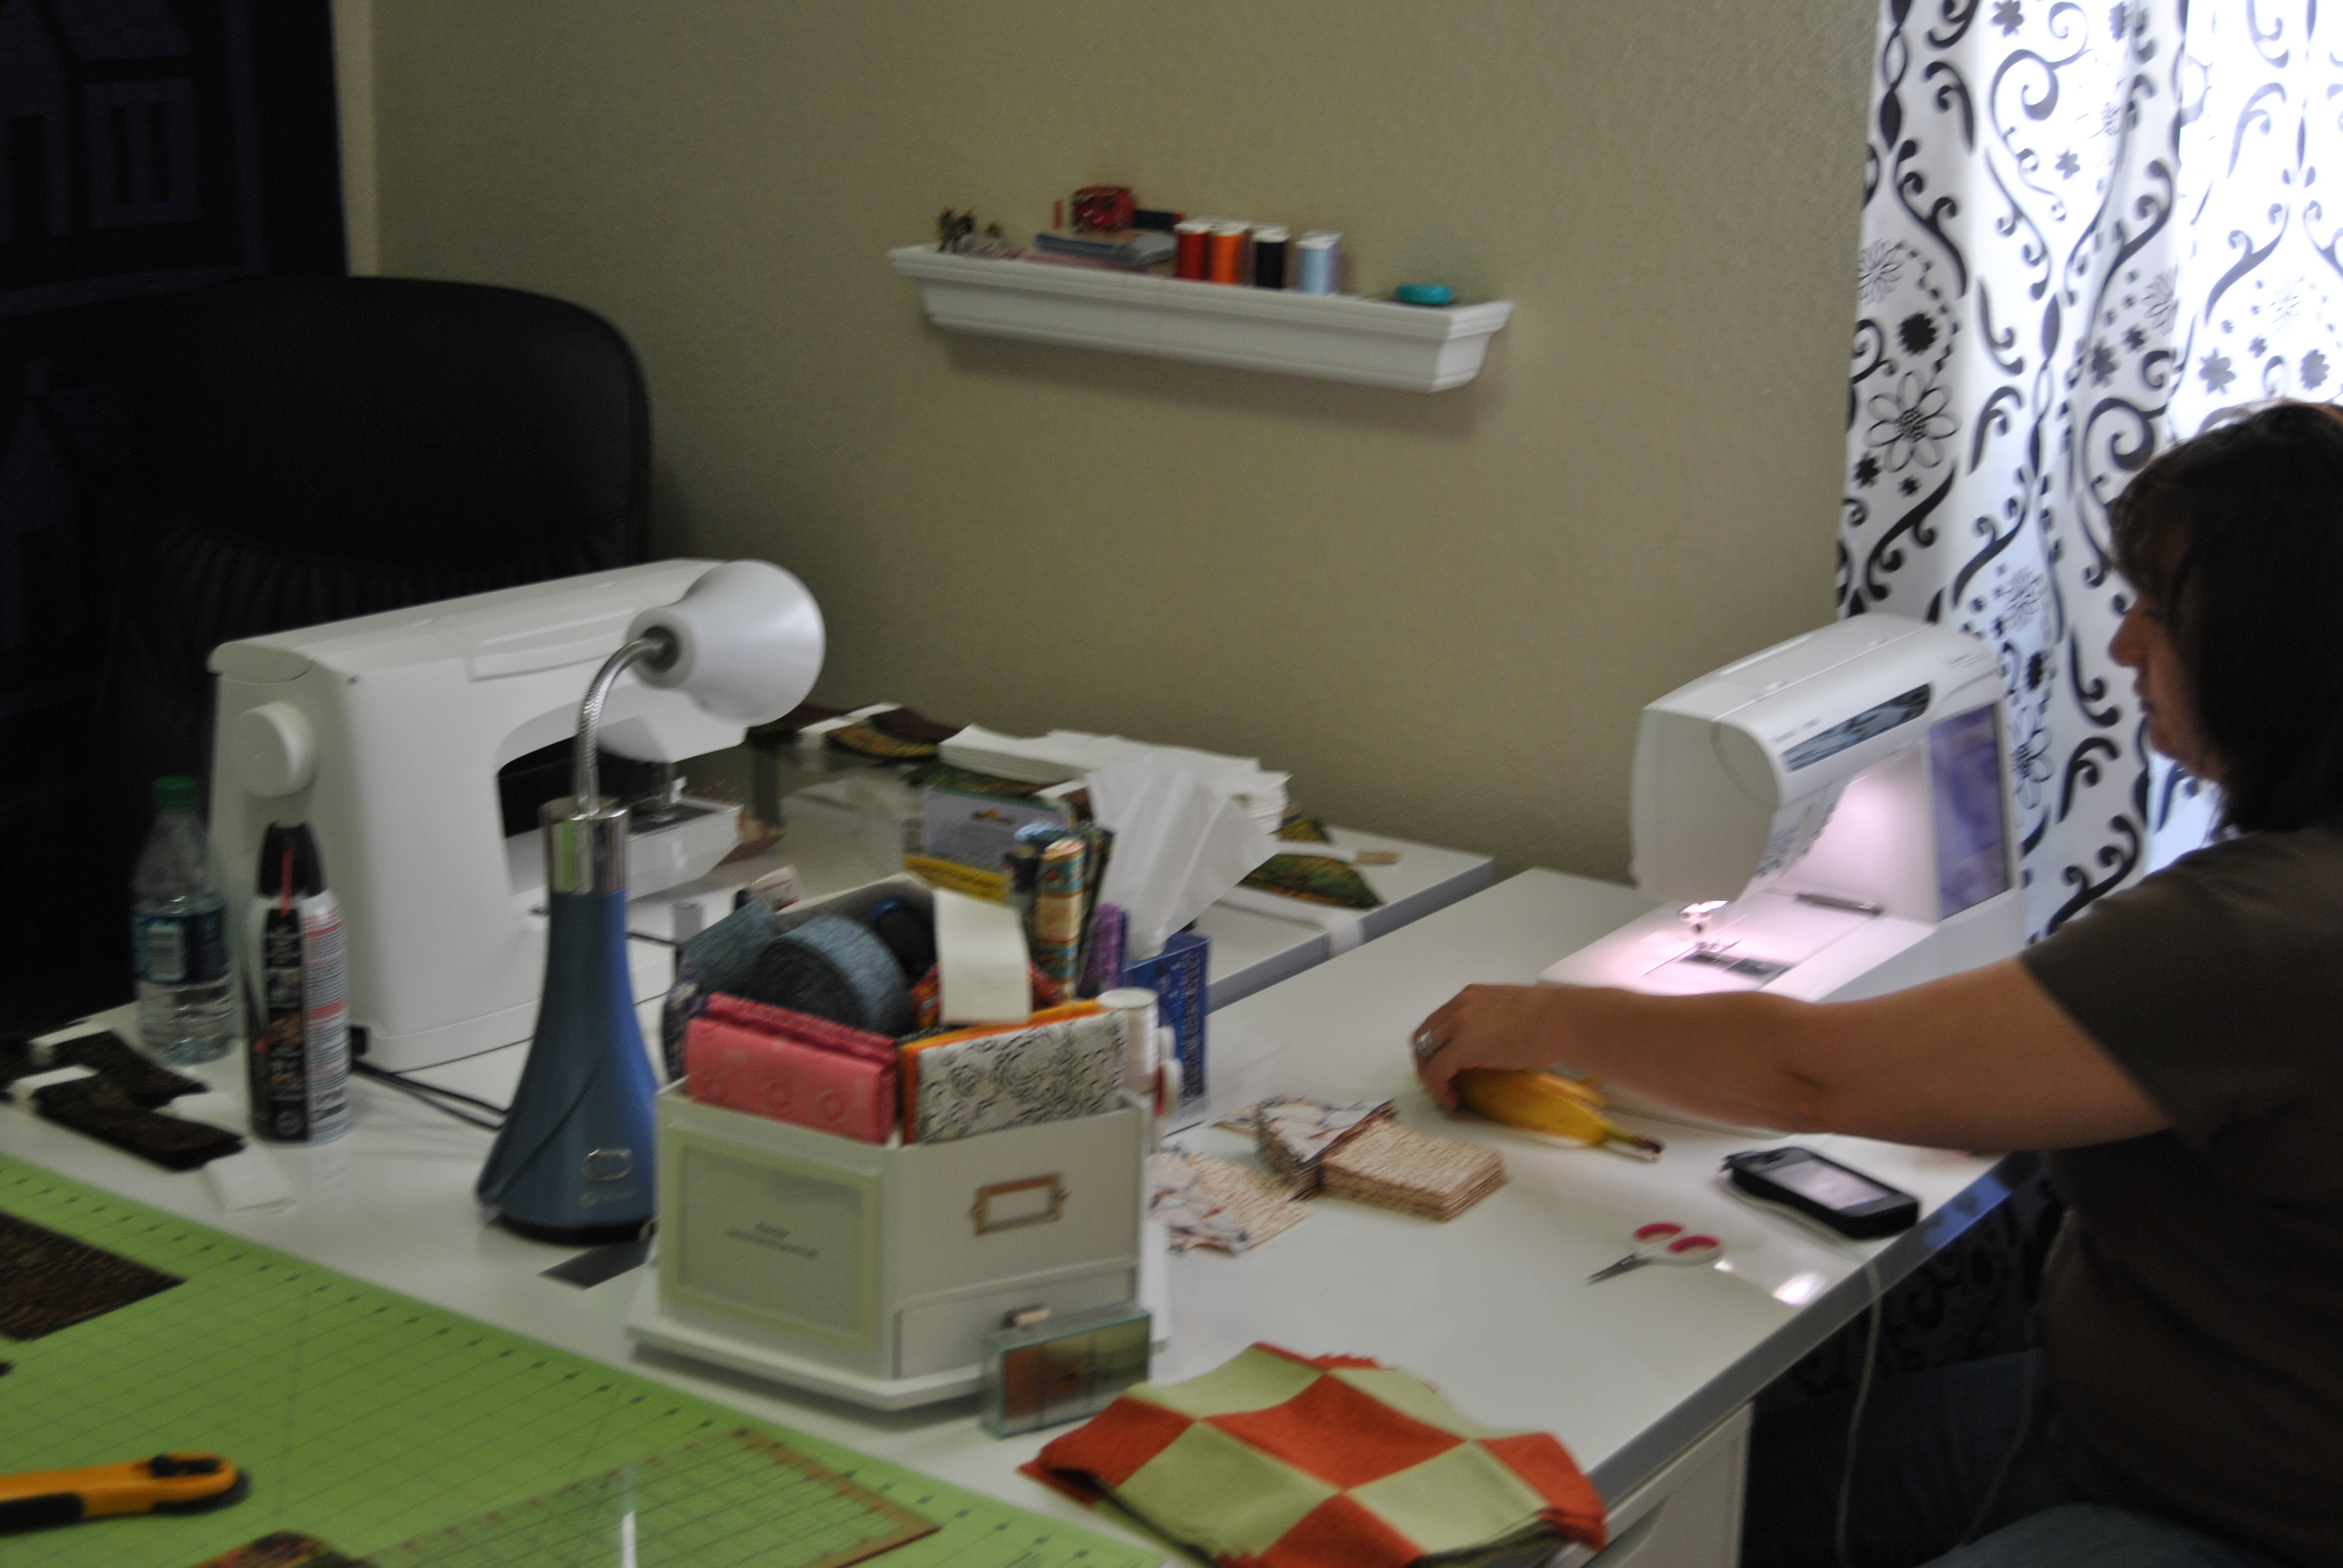
The new sewing tables and cutting board
Posted in
Blogs,
Daily,
Shopping and tagged
blogging,
crafts,
Fabric,
Ikea,
manage,
project,
quilt,
Quilting,
Quilts,
Review,
Sew,
sewing,
Sewing machine,
shopping


 and finally the square is complete!